Meeting Appointment
The Meeting Appointment menu is used to manage and track all meeting appointments within the system. Each meeting status has a specific meaning, as described below.
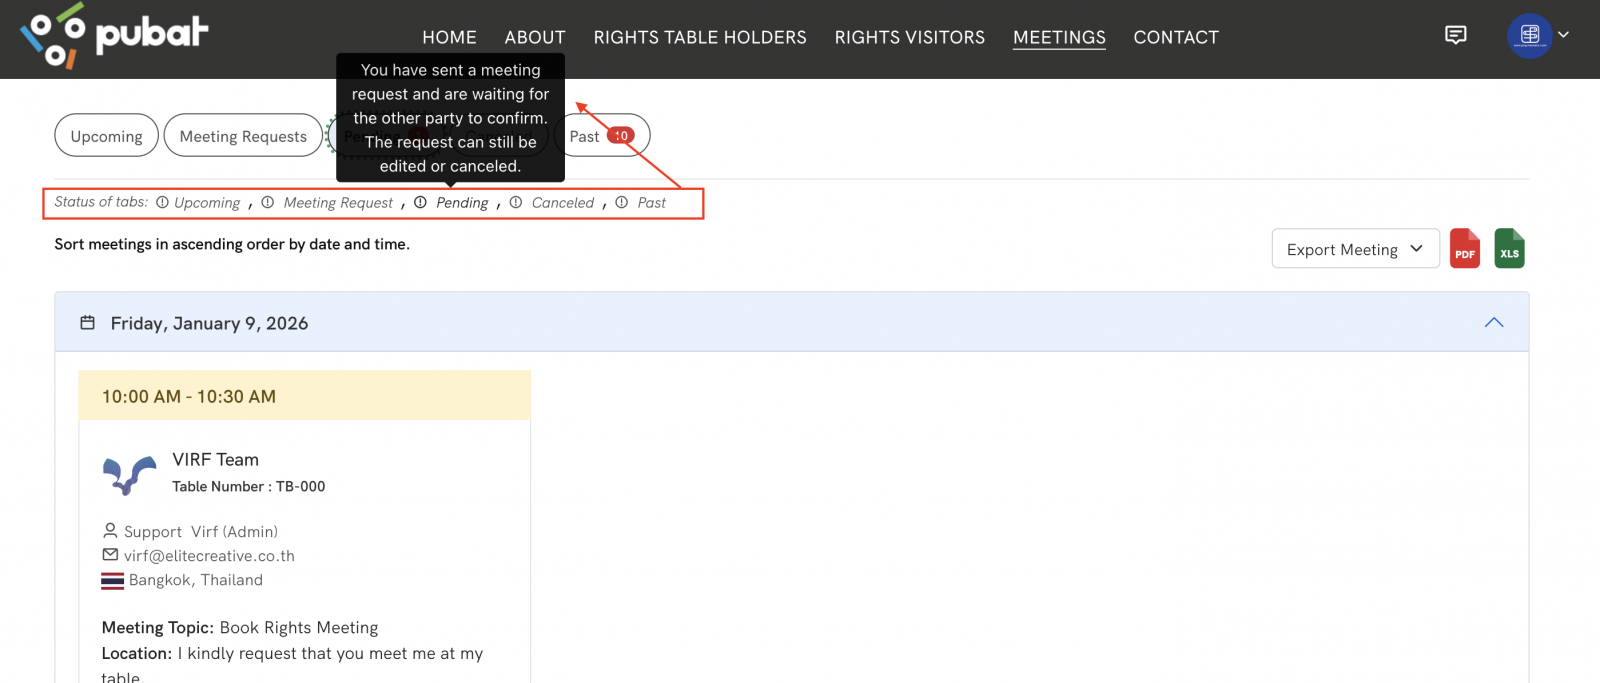
Meeting Status Definitions
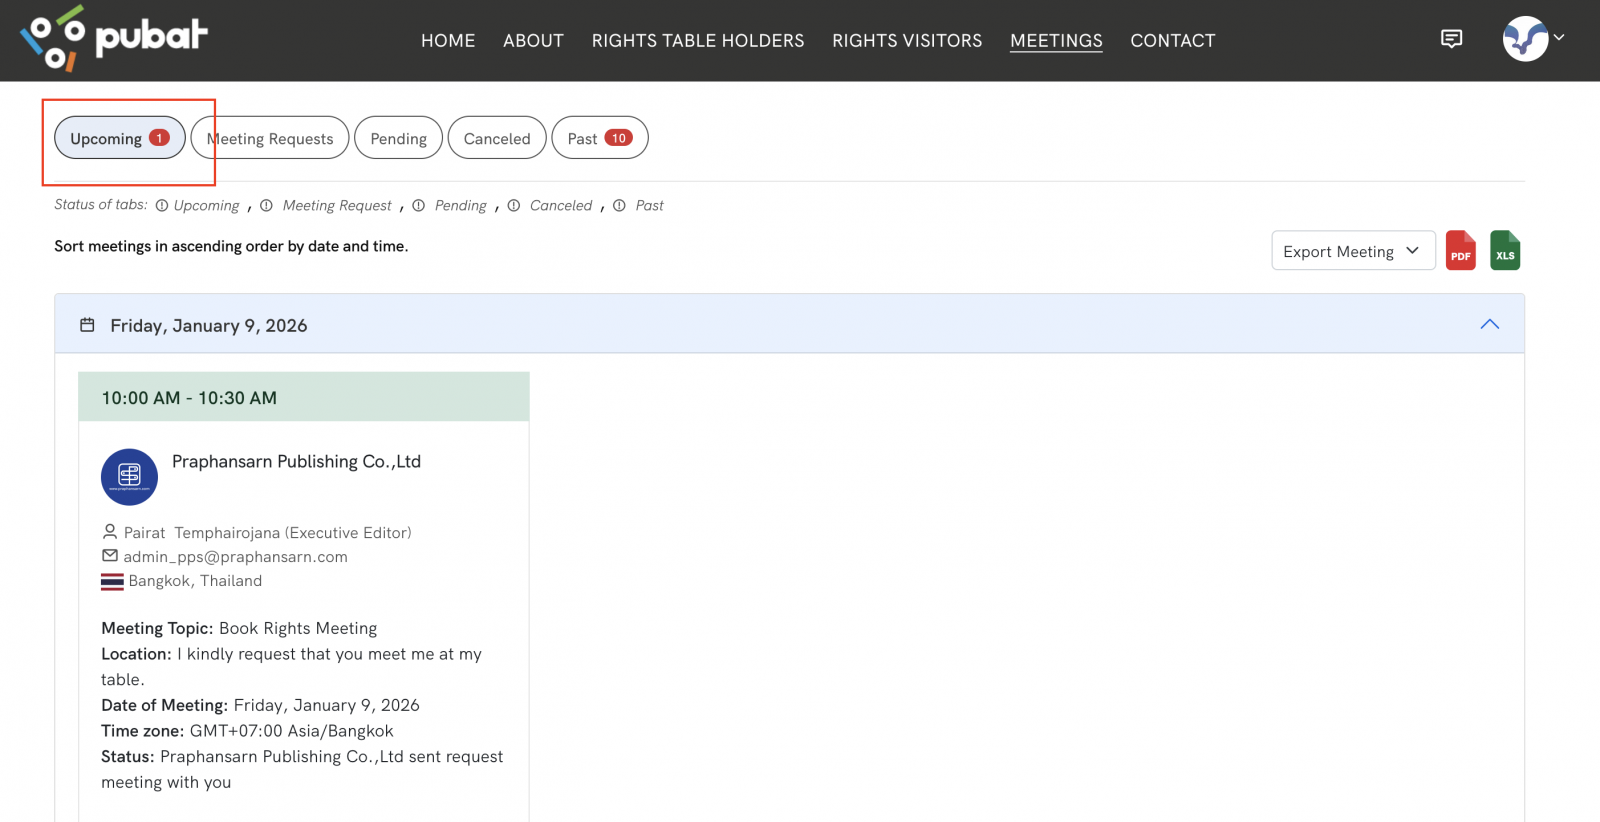
- Upcoming Displays all scheduled meetings from the current date onward, including confirmed future appointments.
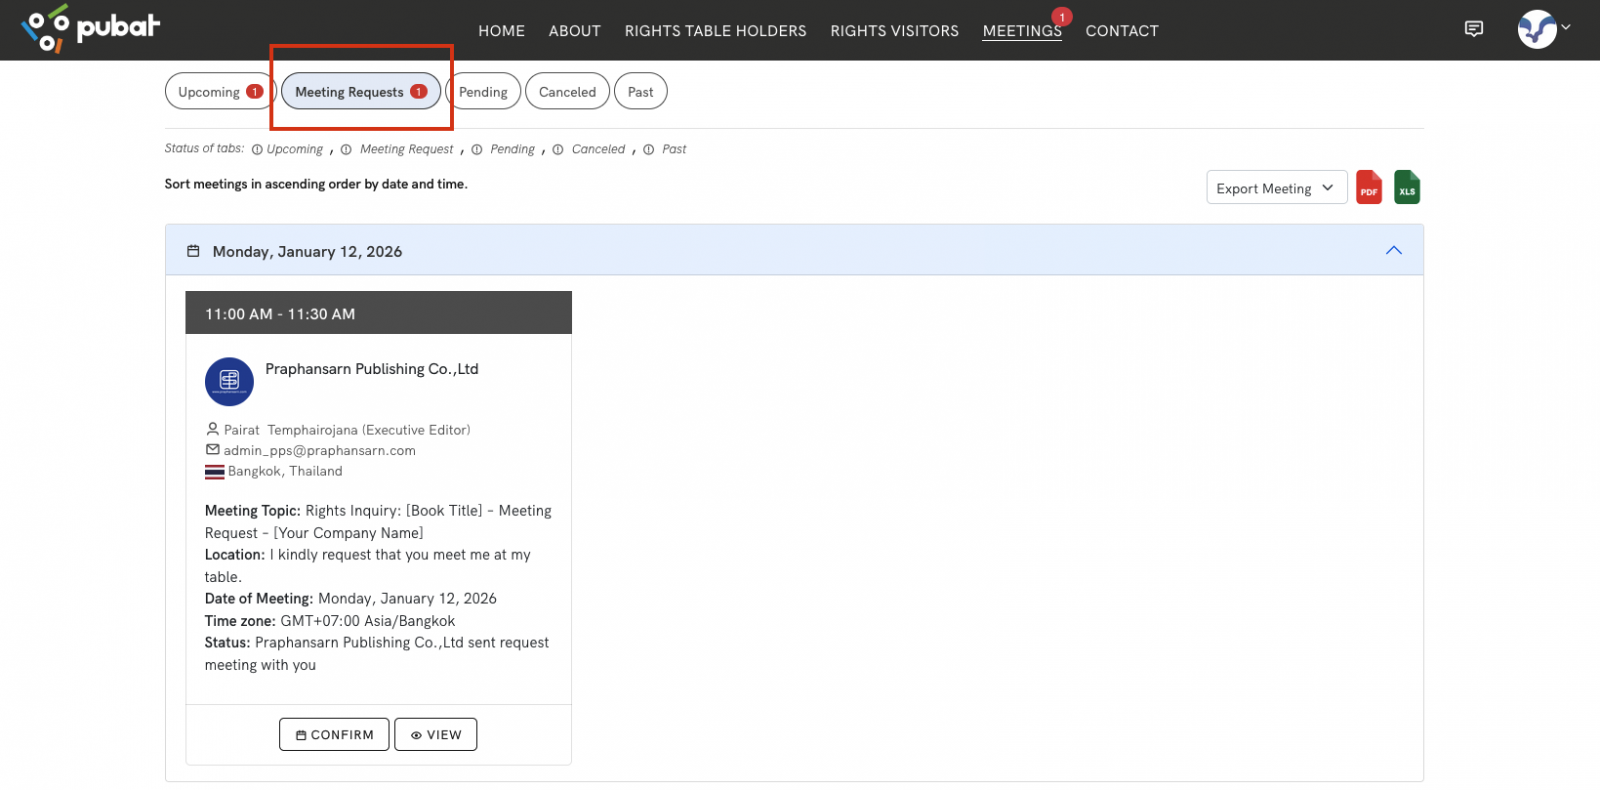
- Meeting Requests Used to manage meeting invitations received from other users. You may choose to accept the request or reschedule the meeting time.
- Pending Displays meetings that you have requested and are currently awaiting a response from the other party. This status helps you track and monitor outstanding requests.
- Canceled Displays meetings that have been canceled, whether by you or by the other party, along with the reason for cancellation.
- Past Displays historical meeting records that have already ended. These records can be used for reference, analysis, and follow-up purposes.
Tip: In the Meetings menu, you can hover your mouse over each Status label to view a popup explaining the meaning of that status.
Case 1: Creating a New Meeting Appointment
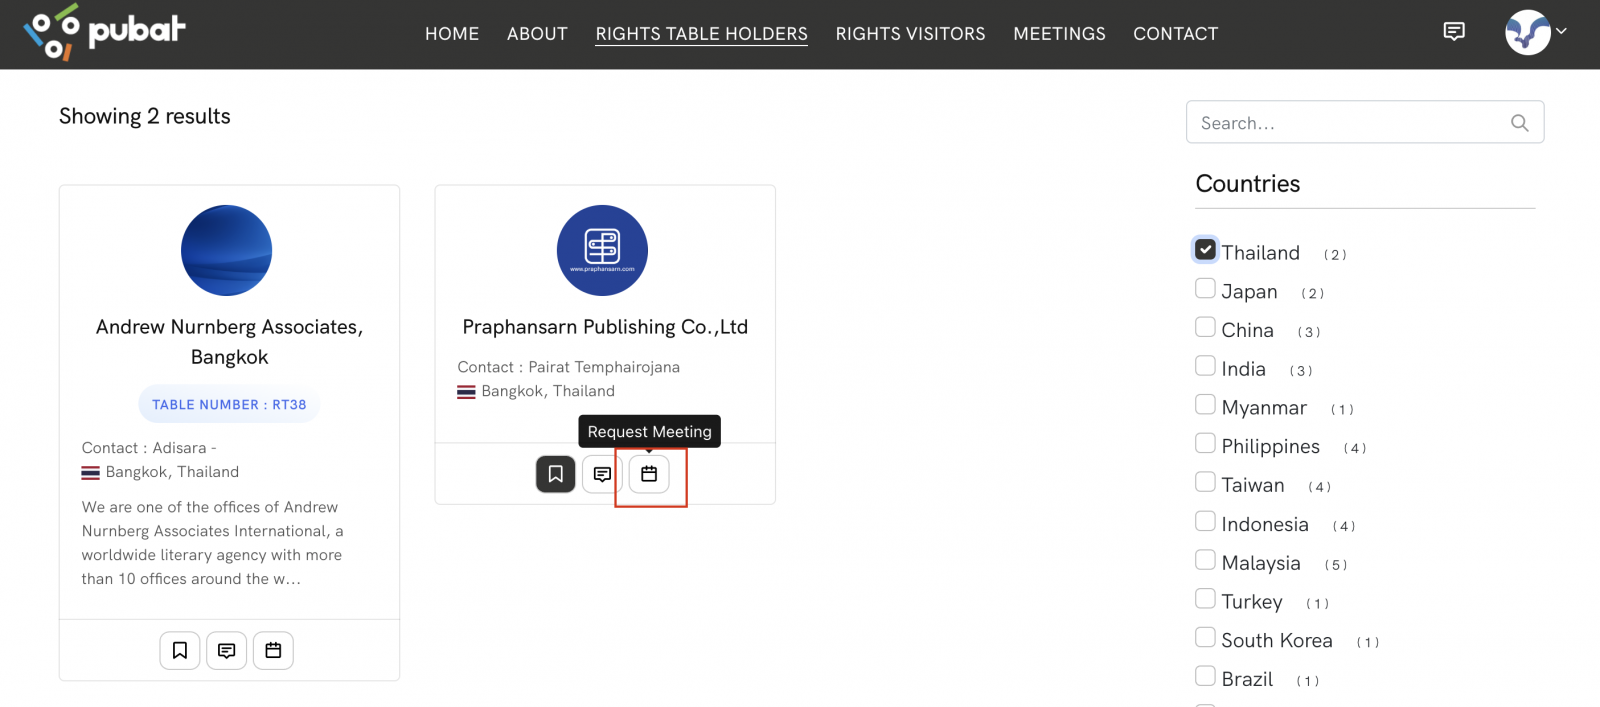
1.To schedule a meeting with a Publisher or another participant, click the Calendar icon on the website.
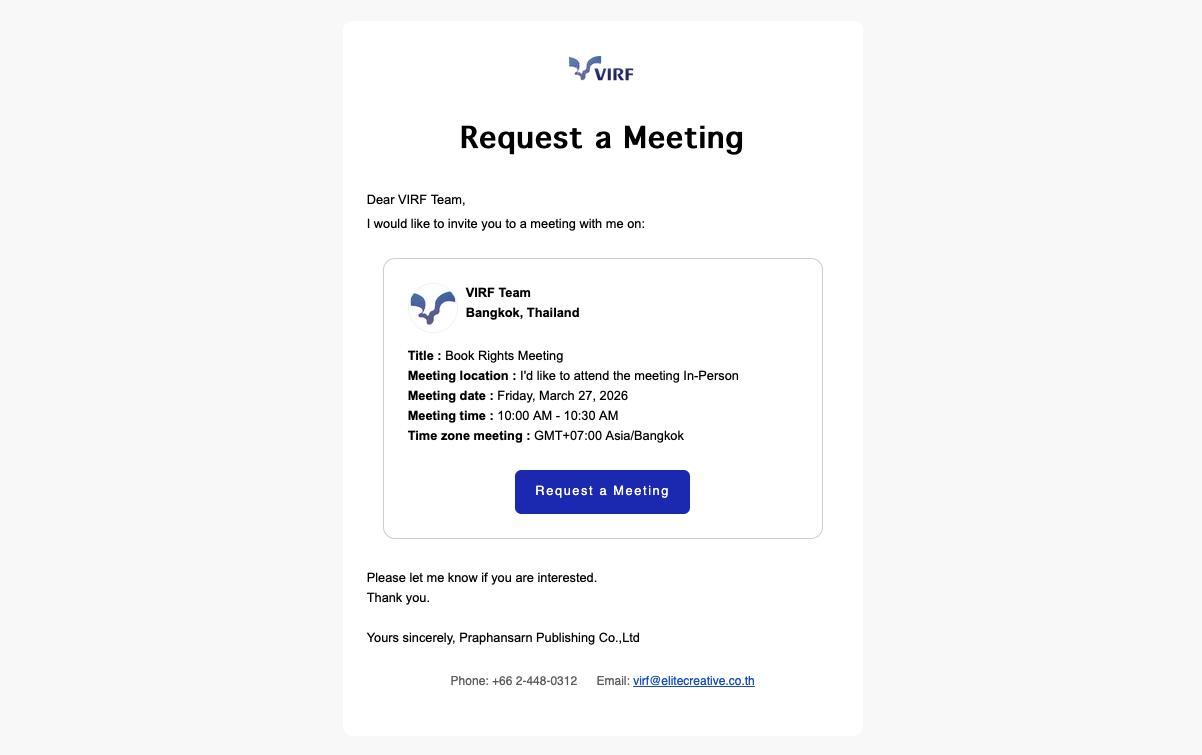
2.The Request a Meeting window will appear. Enter the required details, including the preferred date and time.
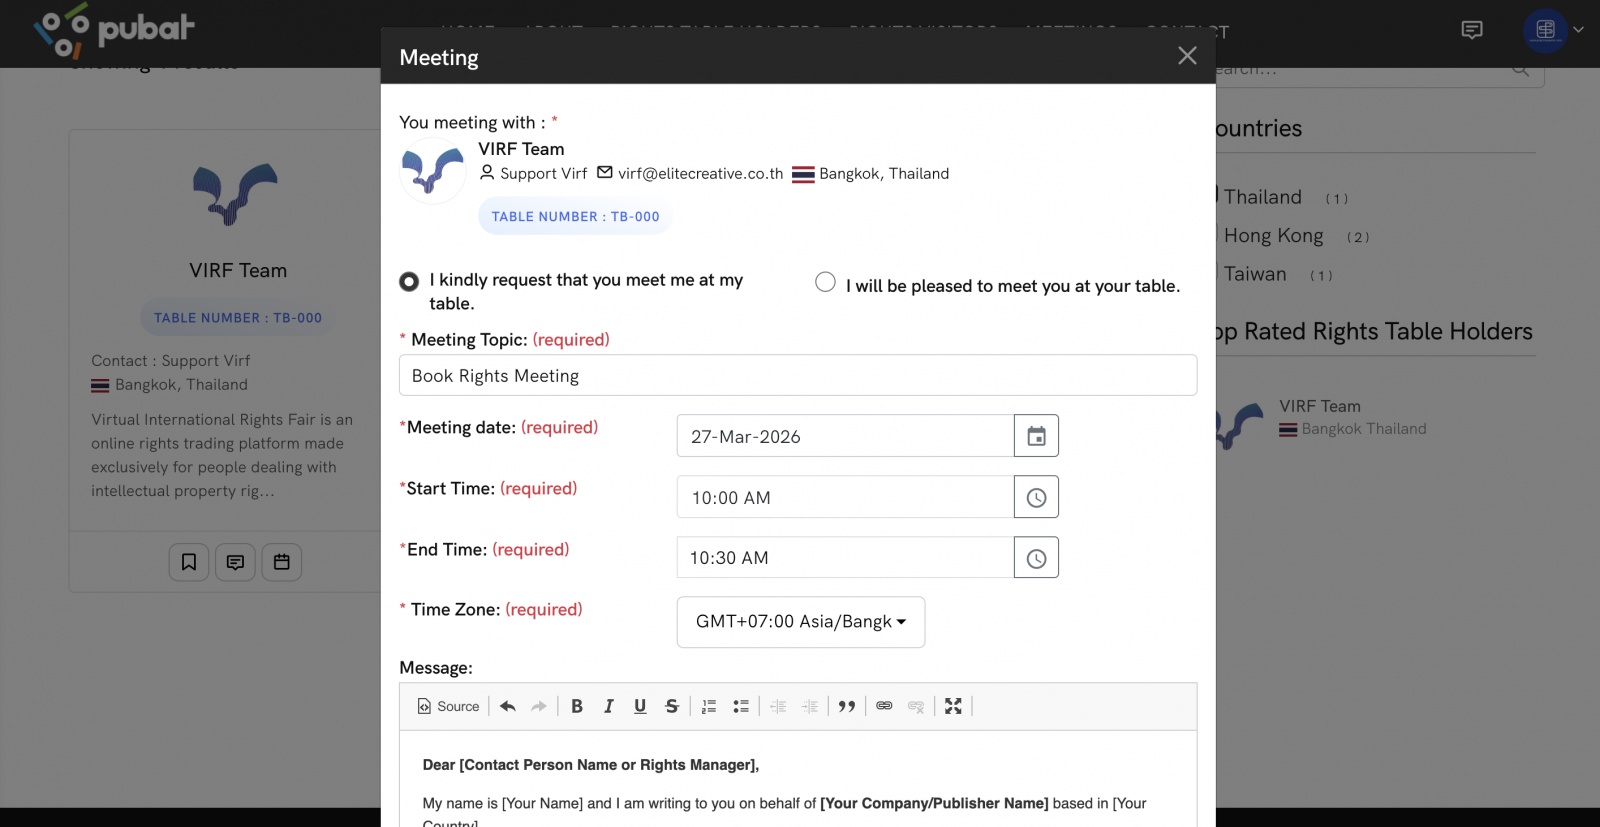
3.Click Save to submit the meeting request.
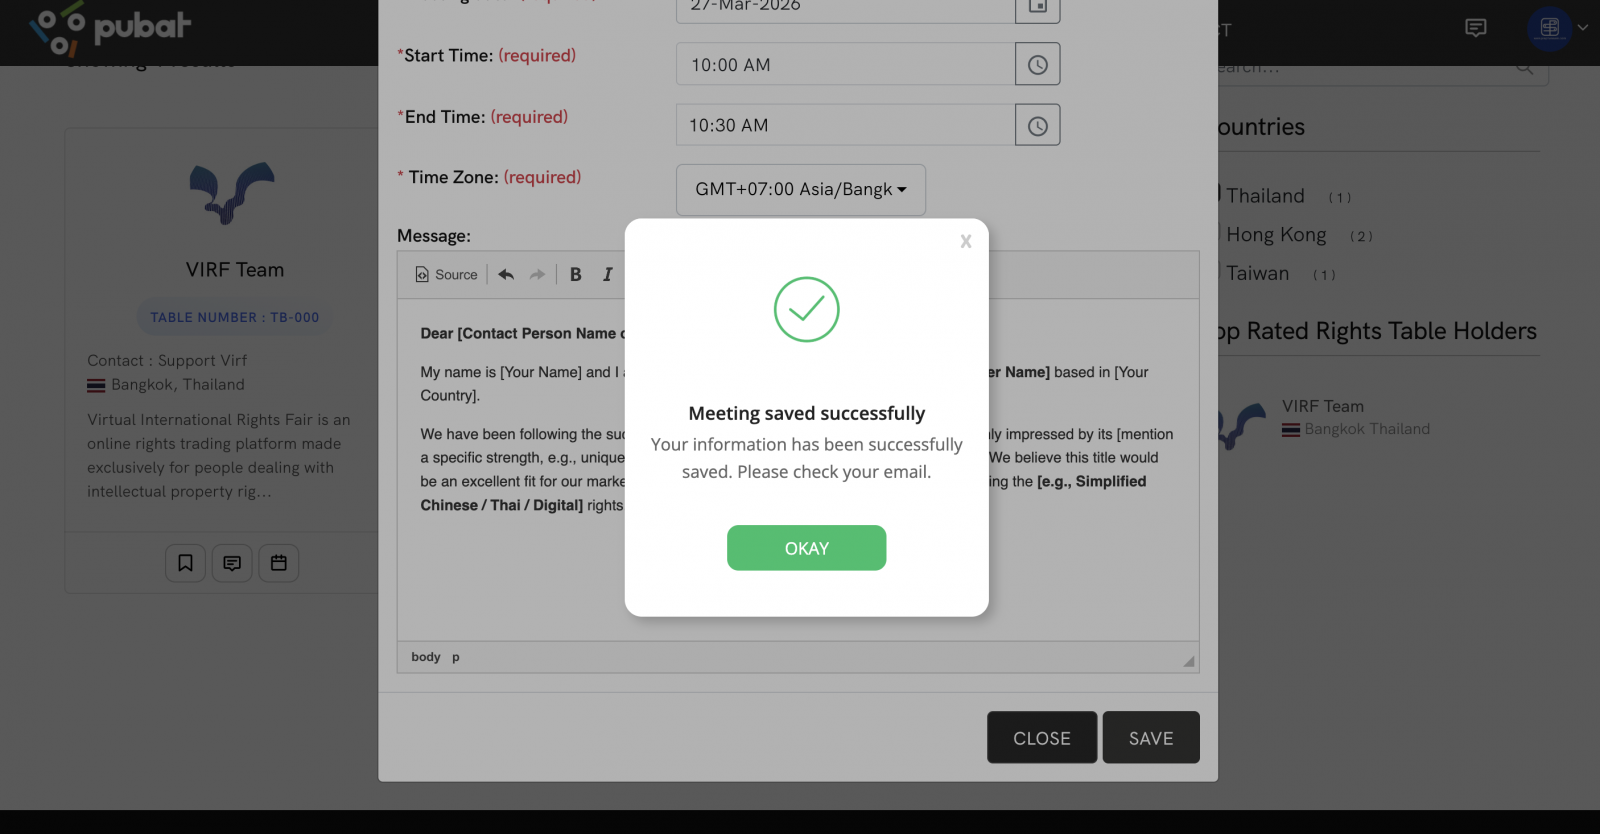
4.After saving, the system will redirect you to the Meetings page.
- Your meeting will appear under the Pending tab.
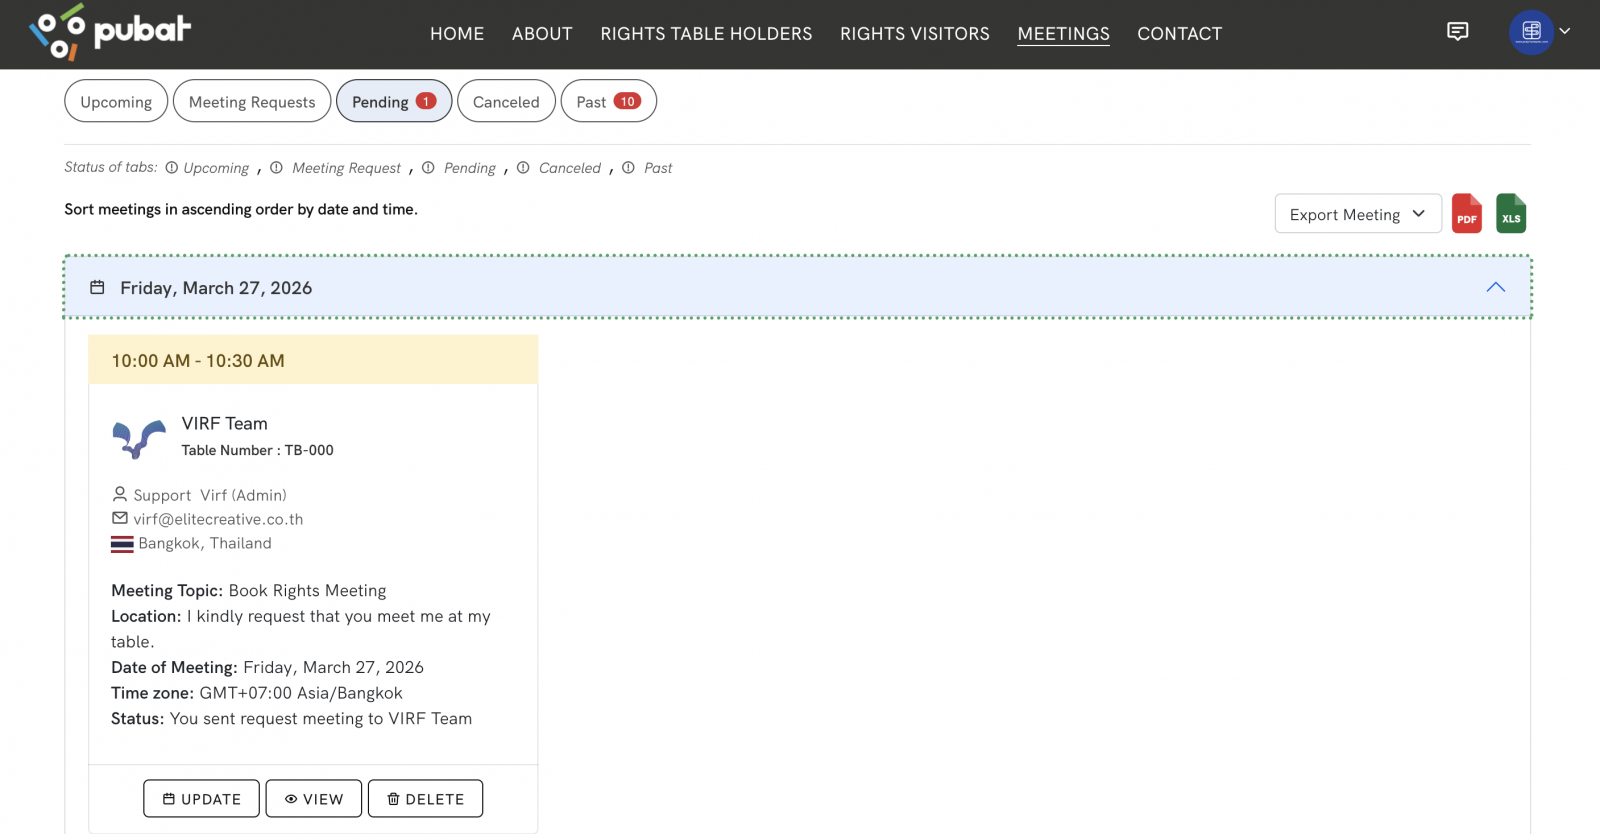
- The system will send an email notification with the meeting details to both you and the invited participant, while waiting for confirmation.
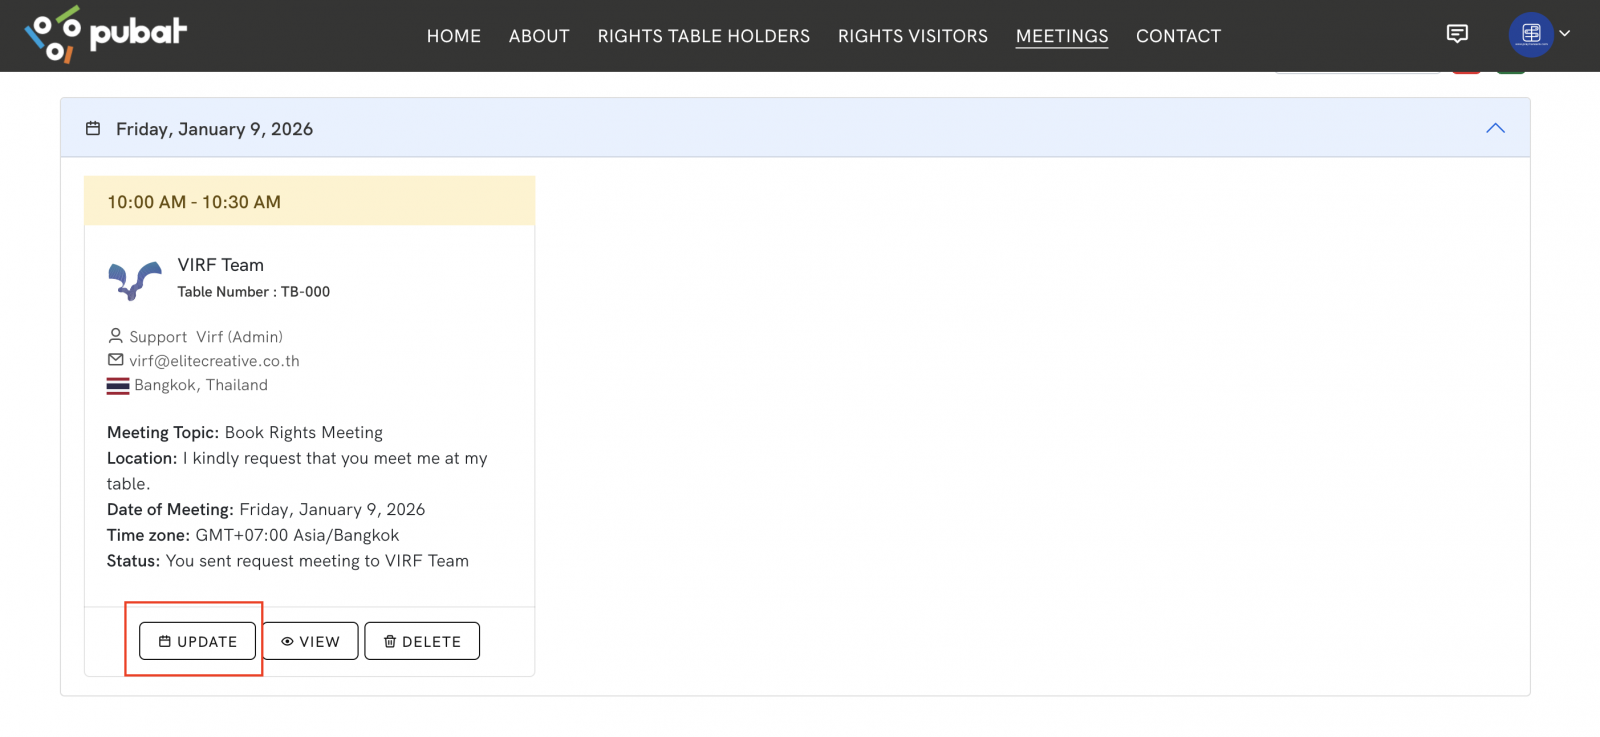
5.At this stage, you may edit the meeting details by clicking Update.
- The system will display the same form as in Case 1.
- Once updated successfully, an email notification will be sent to inform both parties of the changes.
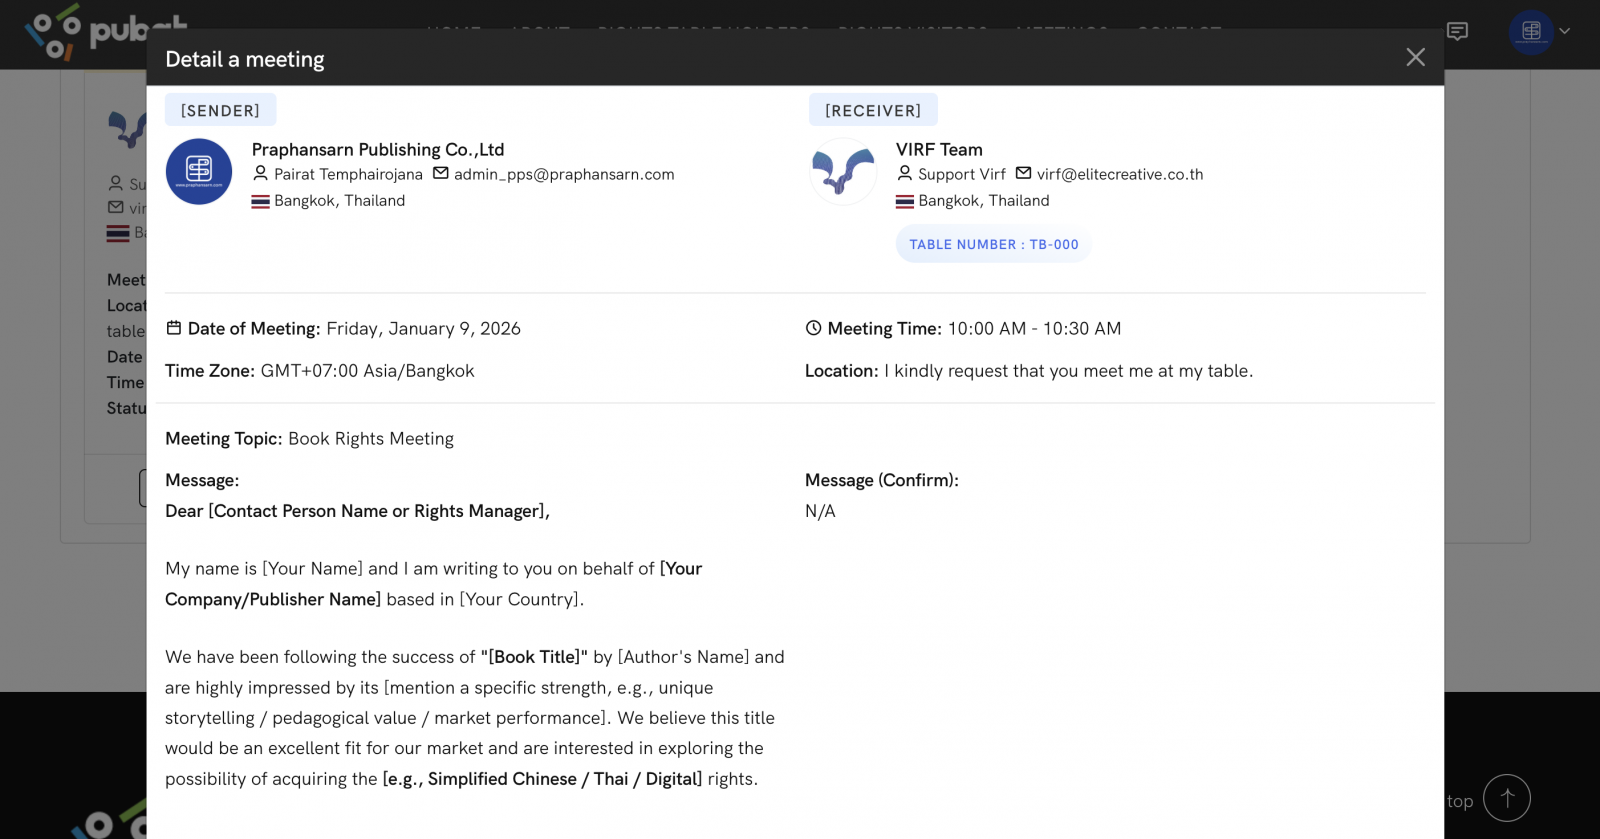
6.To view full meeting details, click the View button.
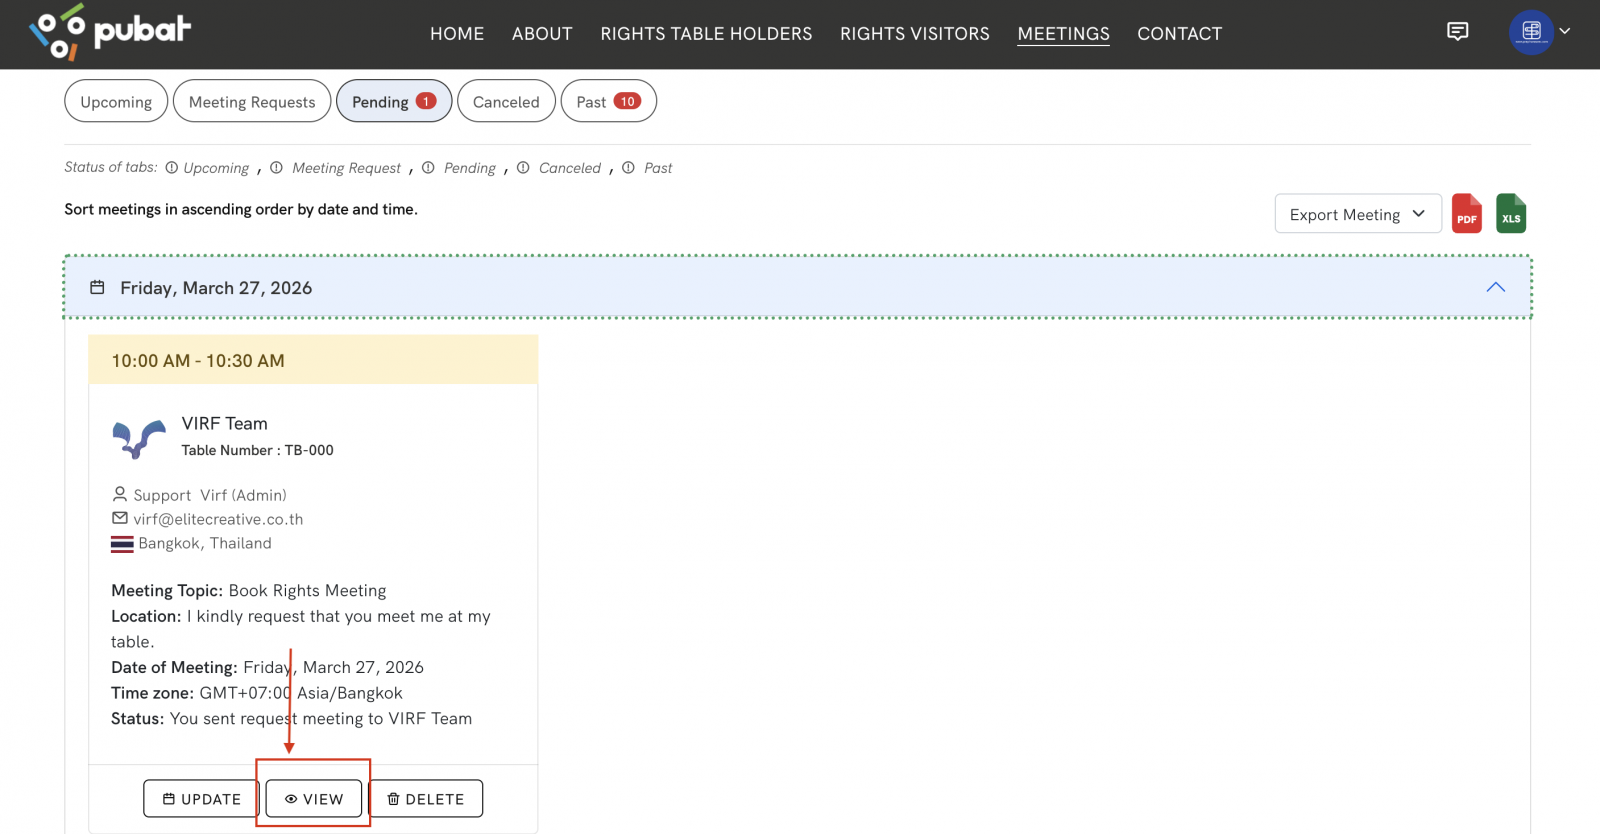
A popup window will display all meeting information.
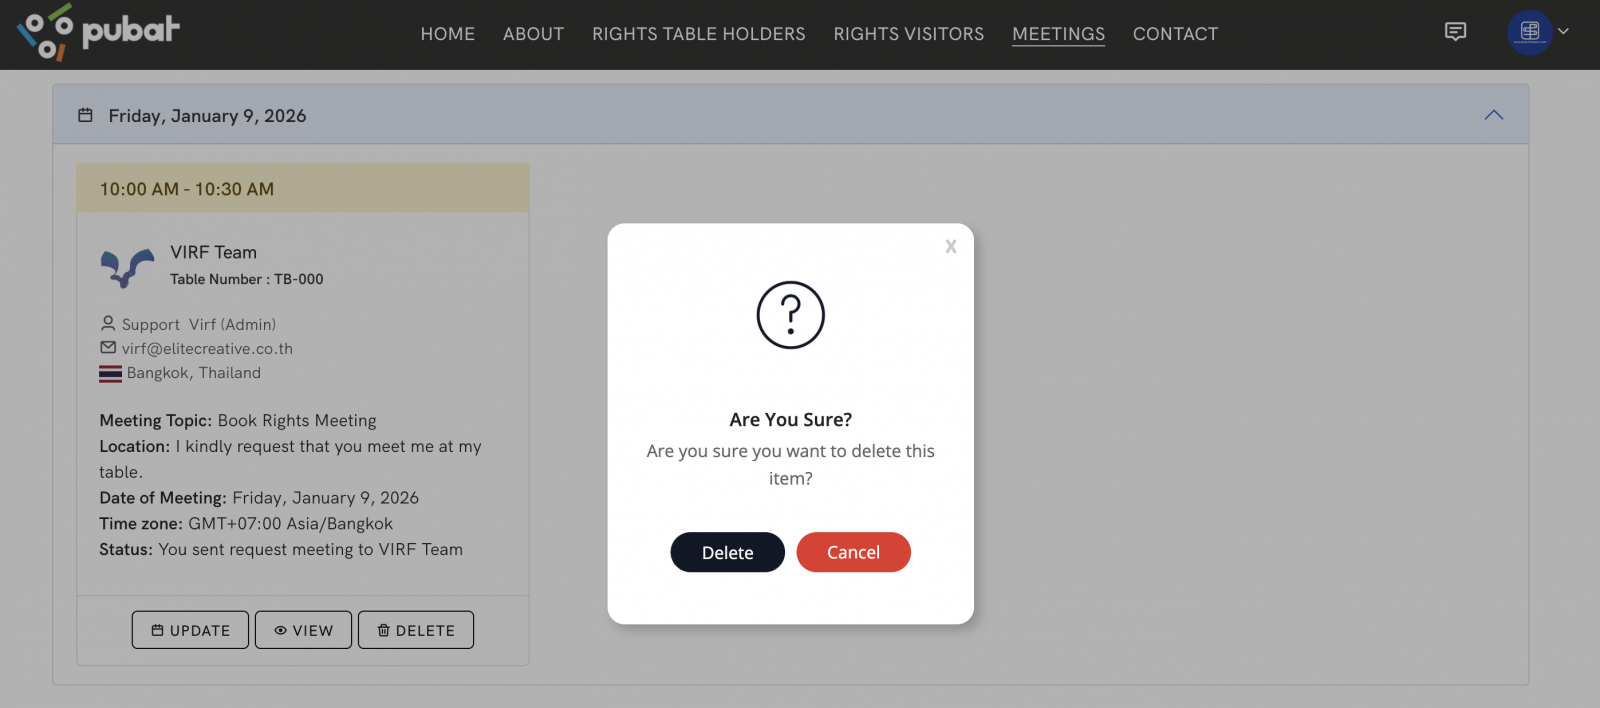
7.If you wish to cancel or delete the meeting, click the Delete button.
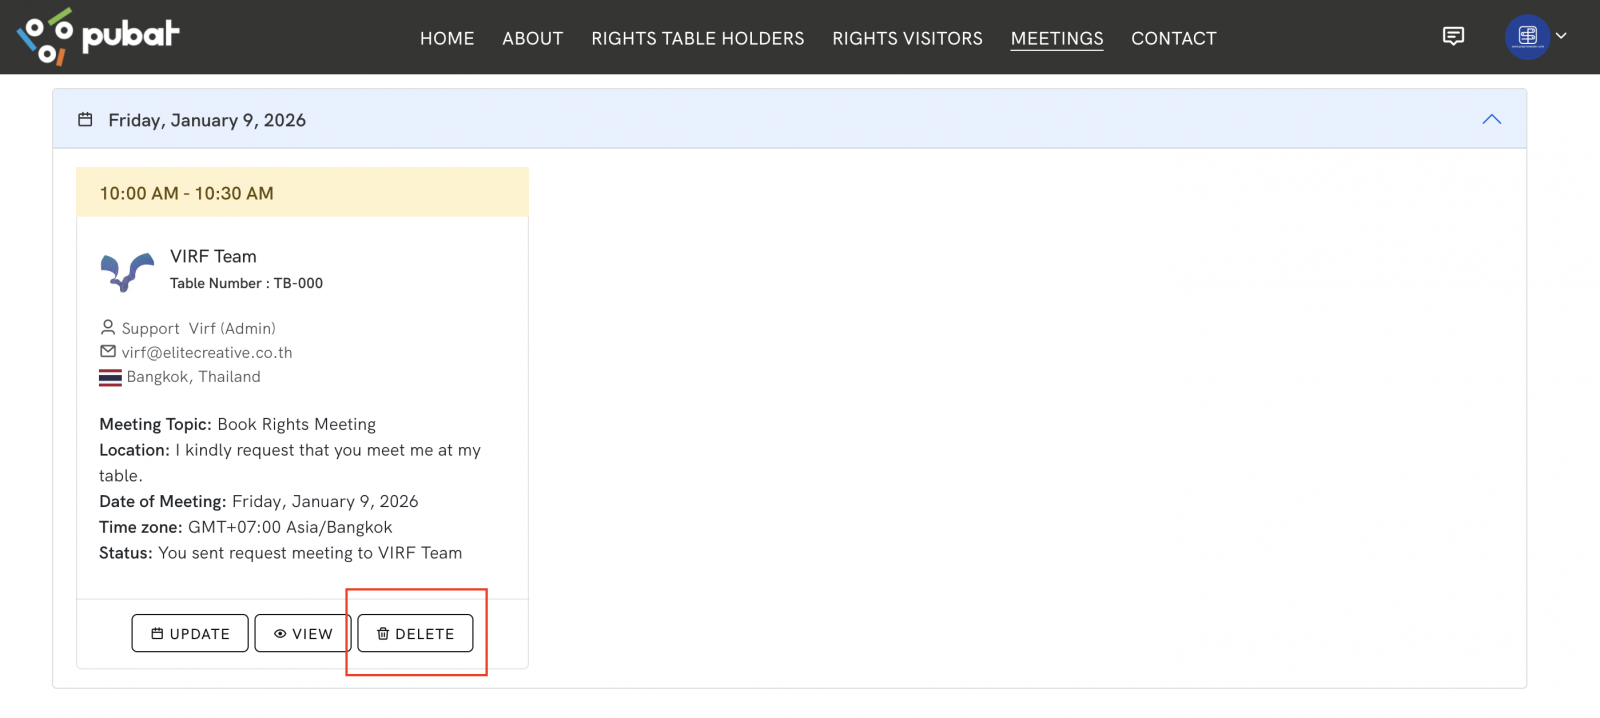
A confirmation window will appear. Click Delete to confirm the cancellation or deletion.
Case 2: Accepting and Confirming a Meeting
When a meeting request is received or after you have sent a request, the following statuses will apply:
Meeting Status Before Confirmation
- Your status: Pending
- The other party’s status: Meeting Request
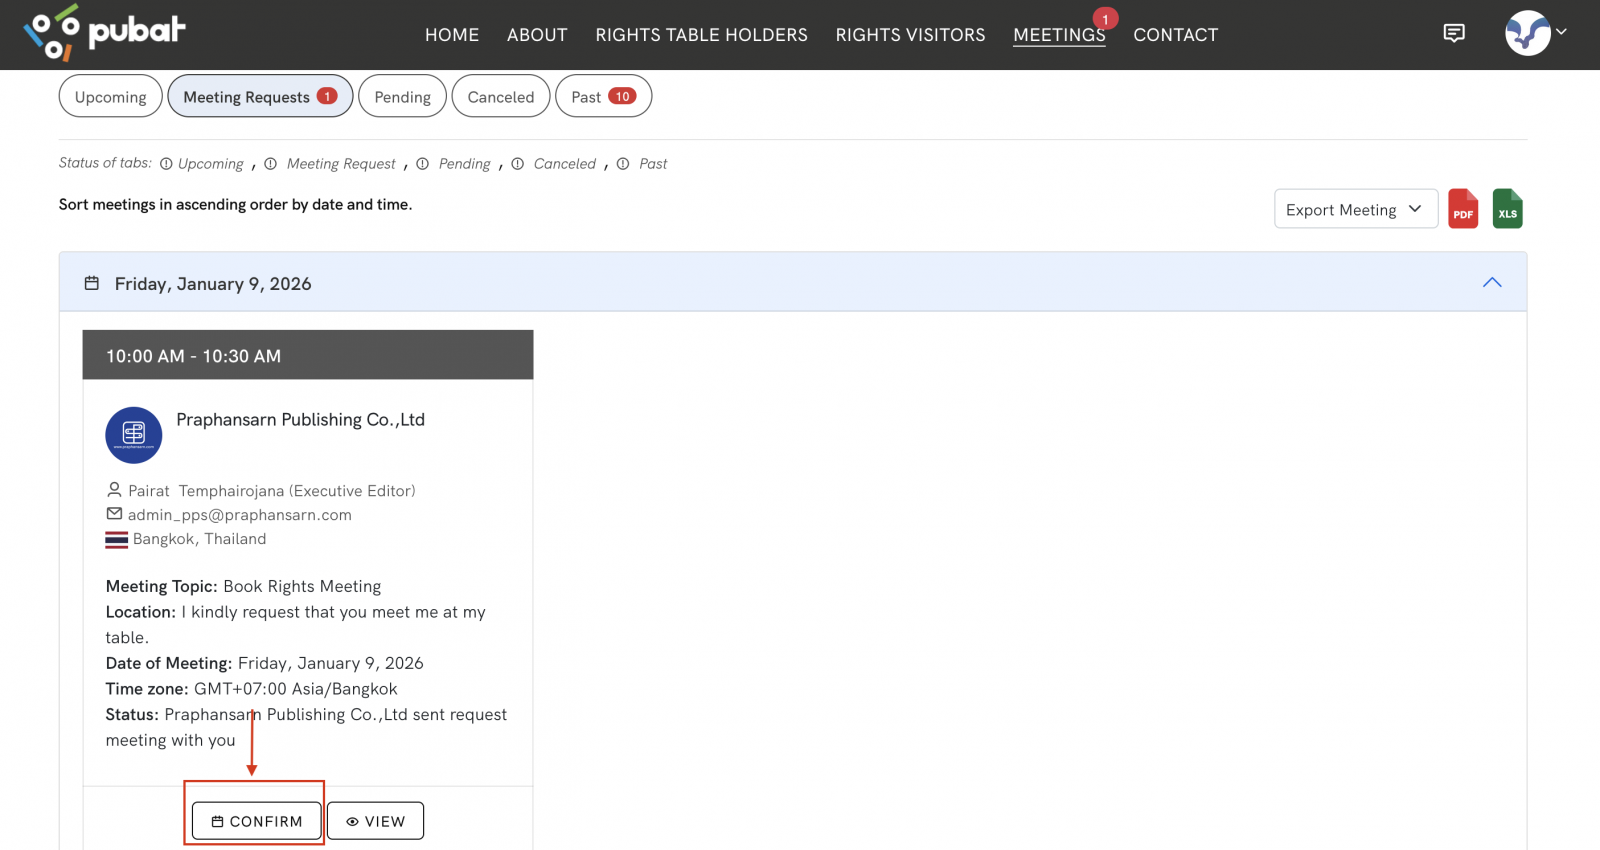
Meetings are sorted by date. You can click on each date tab to view all meetings scheduled for that day.
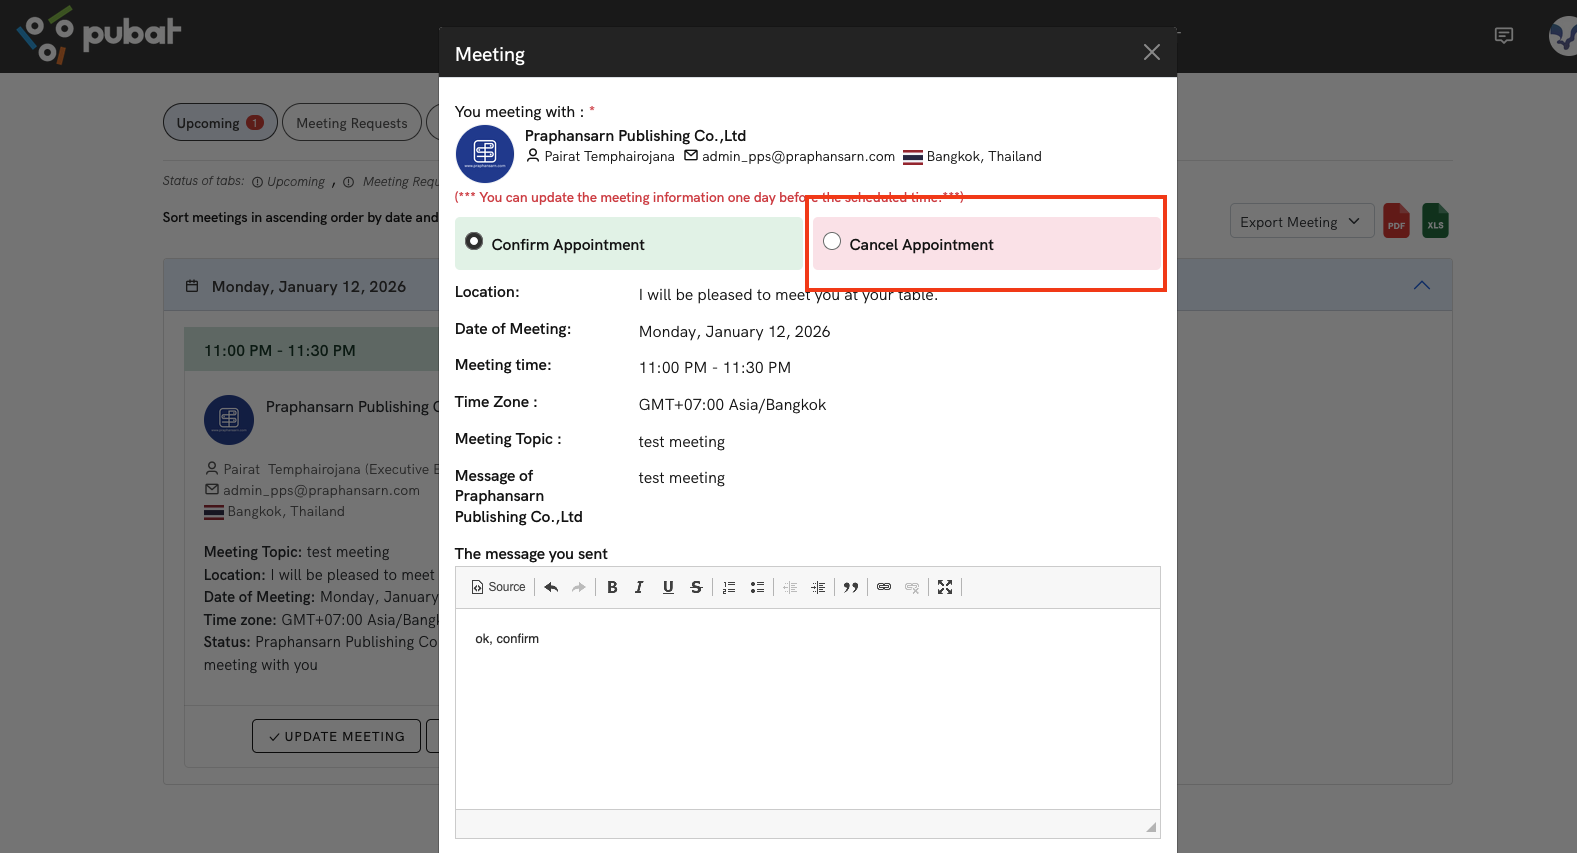
1.To confirm a meeting, click the Confirm button.
2.A popup window will appear, allowing you to choose:
- Confirm Appointment
- Cancel Appointment
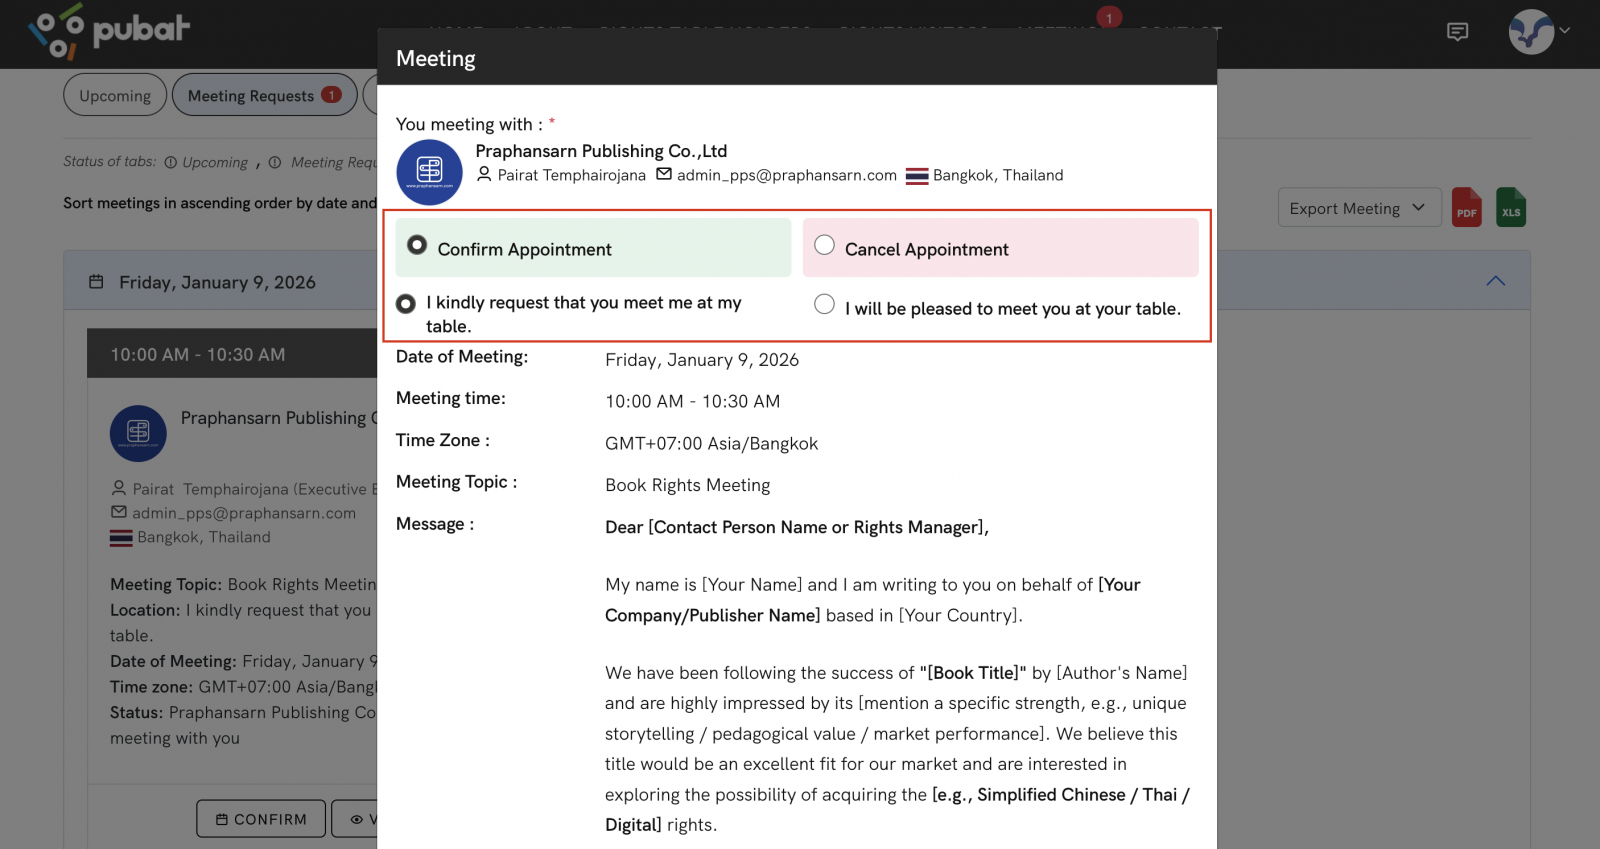
3.If you select Confirm Appointment and save successfully, the meeting status for both parties will be updated and displayed under the Upcoming tab.
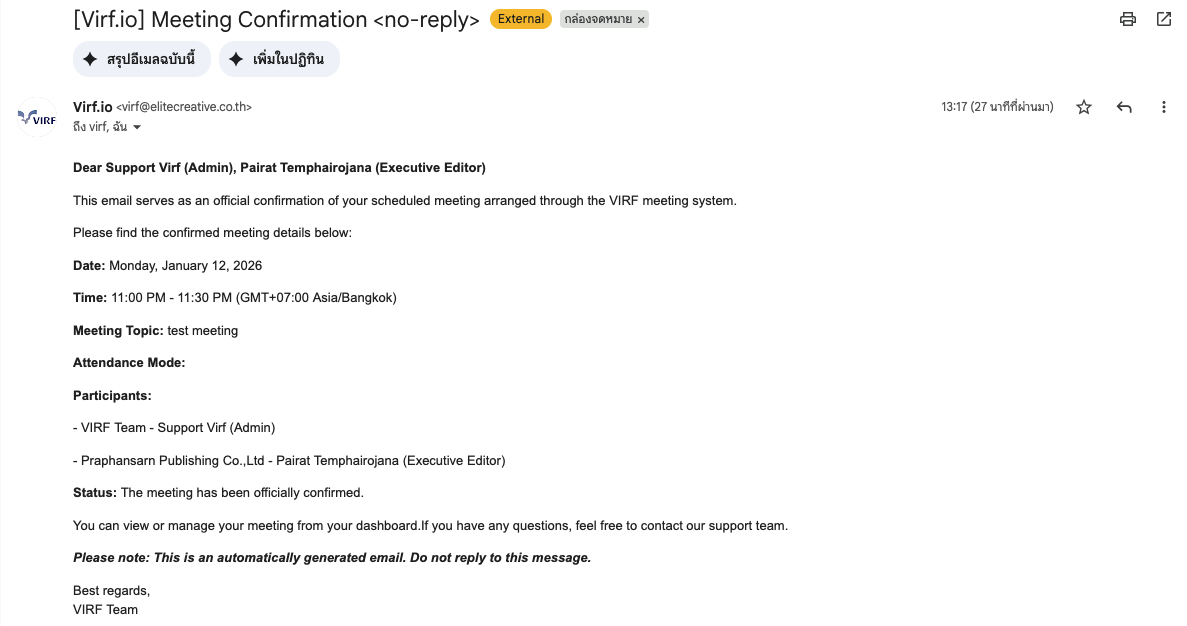
4.The system will send an email notification containing the meeting details to both you and the other participant.
Case 3: Declining a Meeting Appointment
Meeting rejection can occur in two scenarios:
1. Declining a Meeting Before Confirmation
- When you receive a meeting invitation, the meeting will appear under the Meeting Request status.
- Click Confirm to view the meeting details, then select Cancel Meeting to decline the request. Click OK to confirm the action.
.png)
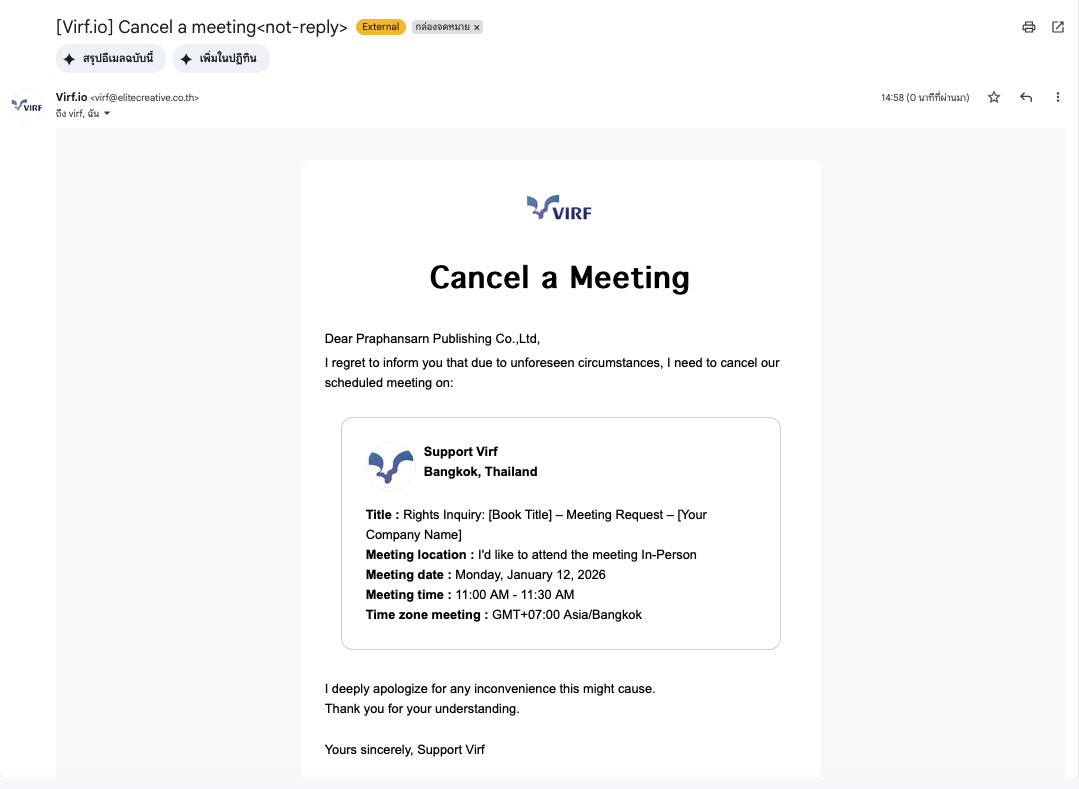
- Once completed, the system will send an email notification to both you and the requester informing them of the rejection.
2. Declining a Meeting After Confirmation
- Once a meeting has been confirmed, it will appear under the Upcoming status.
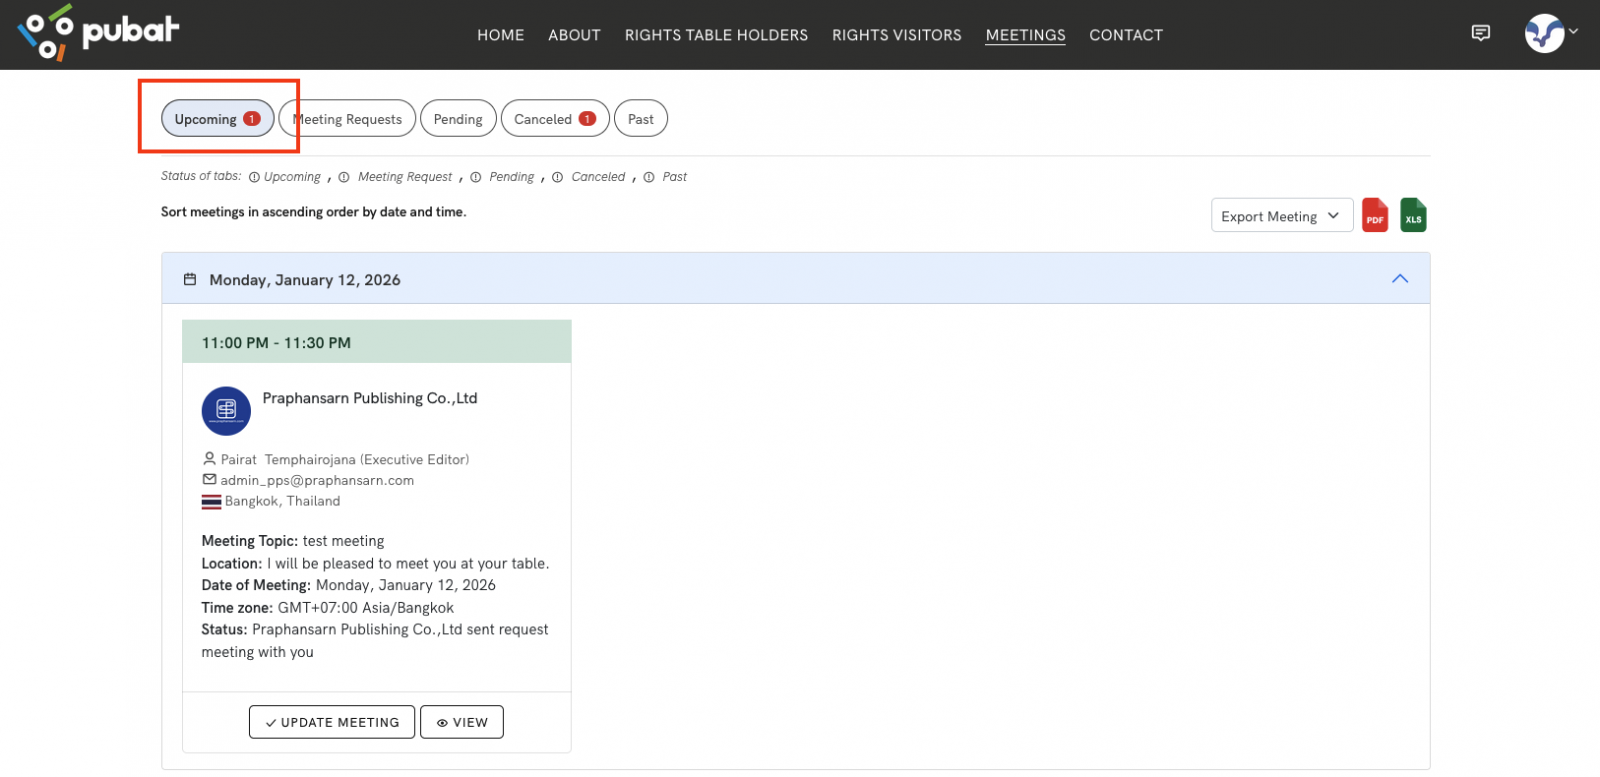
- Click Update Meeting to view the meeting details, then select Cancel Meeting. Click OK to confirm the cancellation.
Note : After confirming a meeting, you may cancel or decline the meeting up to at least one day before the scheduled meeting date.
- After successful cancellation, the system will send an email notification to both you and the other participant.

Case 4: Past Meetings
The Past status displays meetings that have already ended, including:
- Meetings that were successfully completed.
- Meetings that were neither confirmed nor declined, but where the scheduled time has already passed.
All meetings in these cases are stored under the Past tab for reference, review, and record-keeping purposes.